How to Design your Own Custom CD & DVD Covers For Free
When you purchase any custom printed items on our website including CD, DVD, Blu-ray discs, printed packaging, or stock designs, you have the option of uploading your own artwork or working with our design tool to make a custom design in your browser.
The artwork design tool we use is called Photopea, but we made this tutorial based on a very similar program a few years ago. Photopea is free, can be used across any operating system, and works right in your browser. Plus, when you order through Blank Media Printing, we provide a custom design template for you to work with so that you know exactly how your design will look on the selected item.
To get started, build your order on our website and proceed to check-out. You will need to pay for your items before you can start designing. Then, select Upload Artwork > Online Designer to start.
Learn the best tips with our video (above) or written tutorial (below) to design the best custom CD/DVD design:
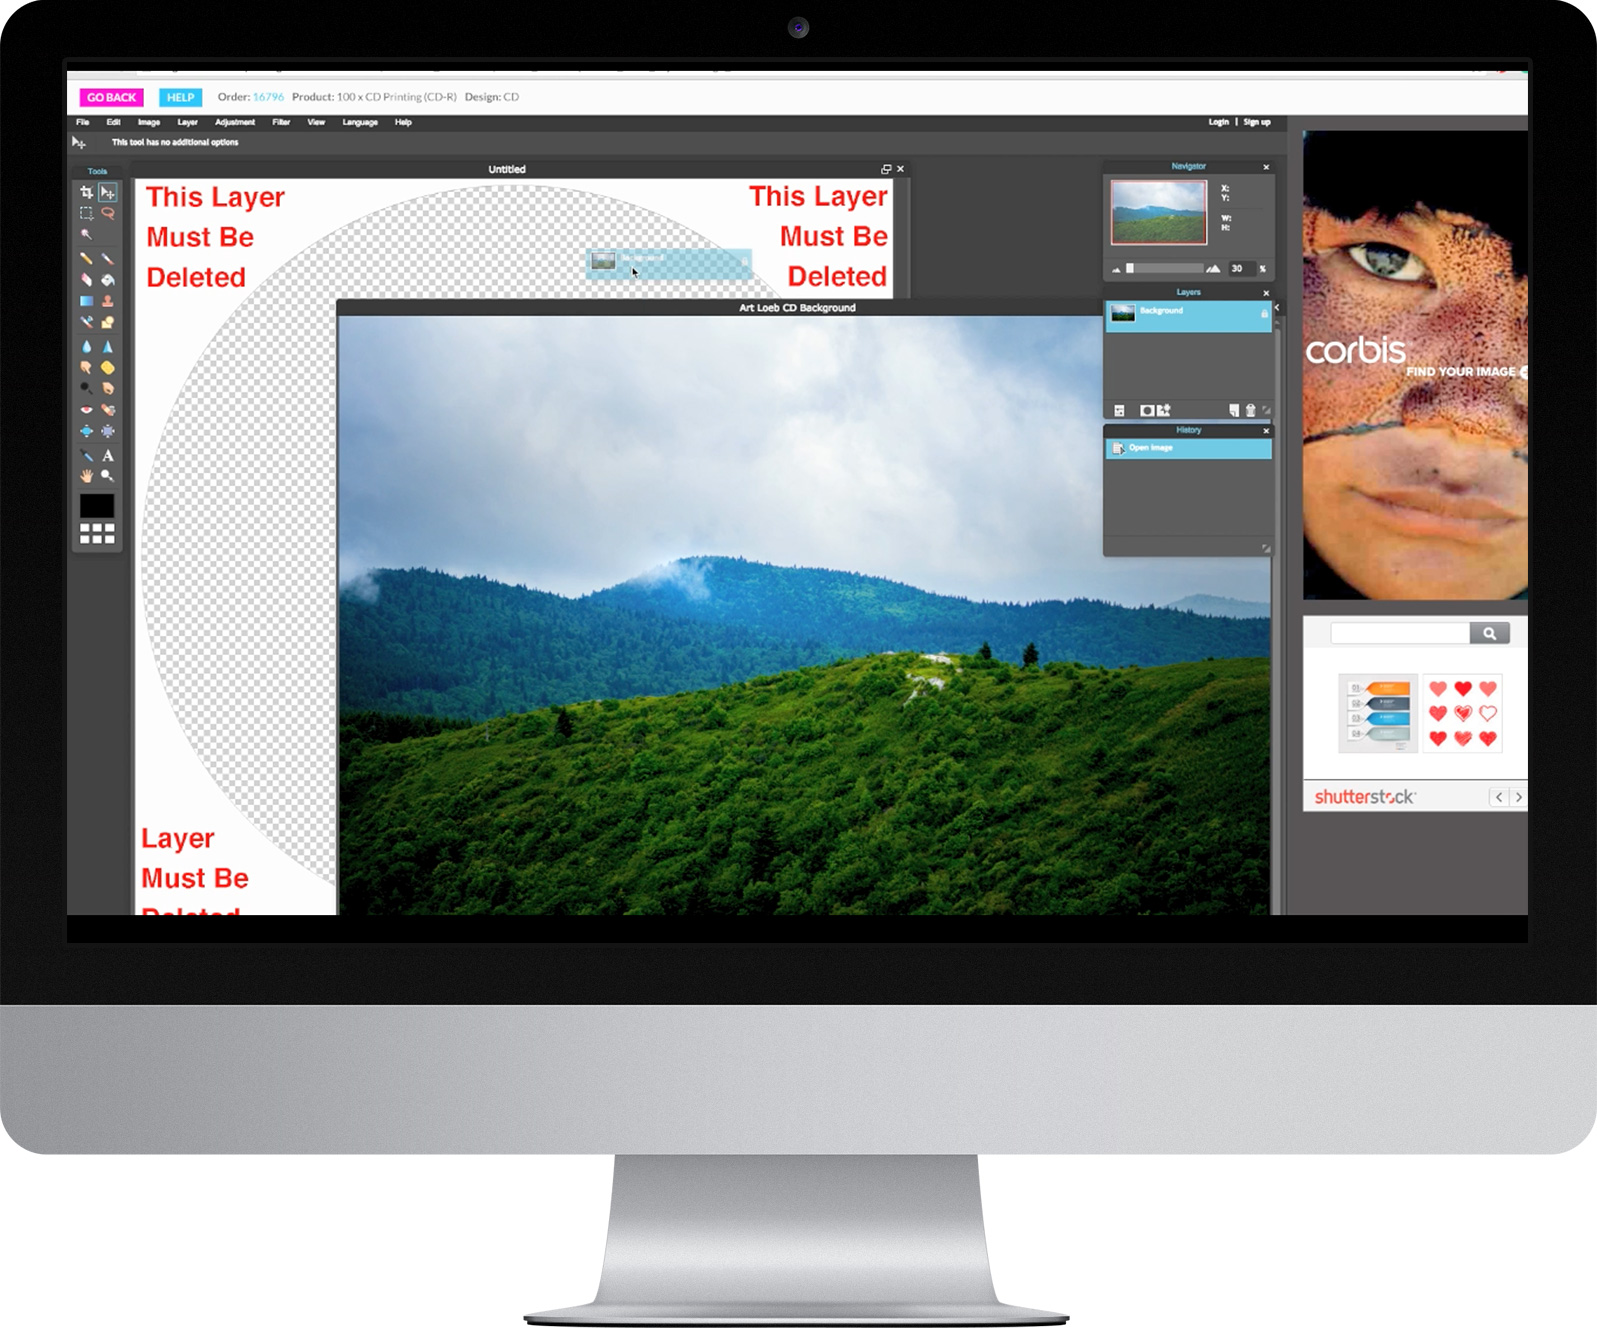
1. Create a background image
Import a photo through File > Open image. This will create a new window with your image in addition to the template window. From here, drag the background layer of the image you want into the template and resize it. Make sure your background image layer is below the template layer.
2. Creating layers
Layers are critical if you’re going to make a detailed art piece. Think of your work as a collage - each new addition or change needs to be on its own layer. This way, if you want to remove any changes, you only have to delete the layer by dragging it to the trash can. Alternatively, you can hide the layer by unchecking the box in your layer panel. Otherwise, you'll have one layer with all your changes flattened and you may end up having to start over.
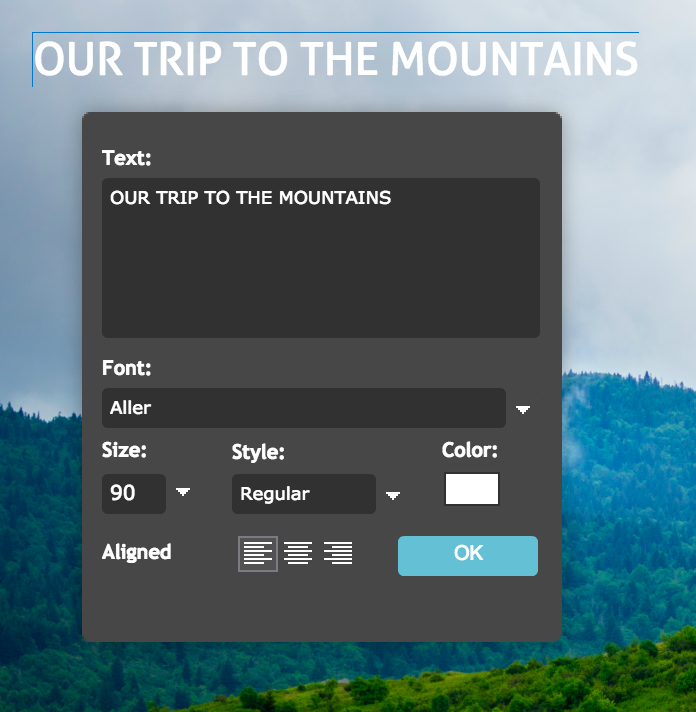 3. Add your own custom text
With countless fonts, you can style your text to your choosing.
4. Layer Styles
If you right-click a layer and select Layer Styles you can add inner and outer shadows, beveling, and glows to your layers. This is often used to help text stand out or to add details to images.
5. Brush tool
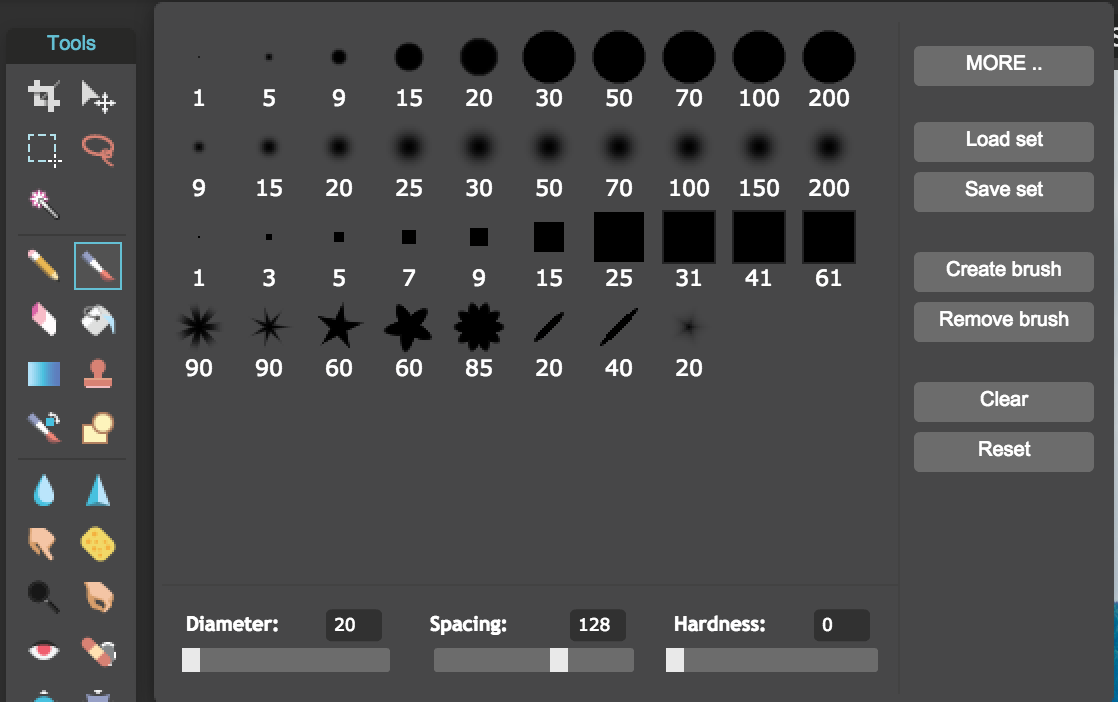
Feeling more hands-on? The brush tool is customizable: you can create your own brushes or choose from the available brushes.
In our example, we selected a star brush. Then, we set our brush options to have a lot of spacing, and then selected the scatter option. To scatter, simply click and drag your mouse across your art and multiple stars will appear based on how much spacing you’ve selected.
6. Add gradients, blur layers, and more!
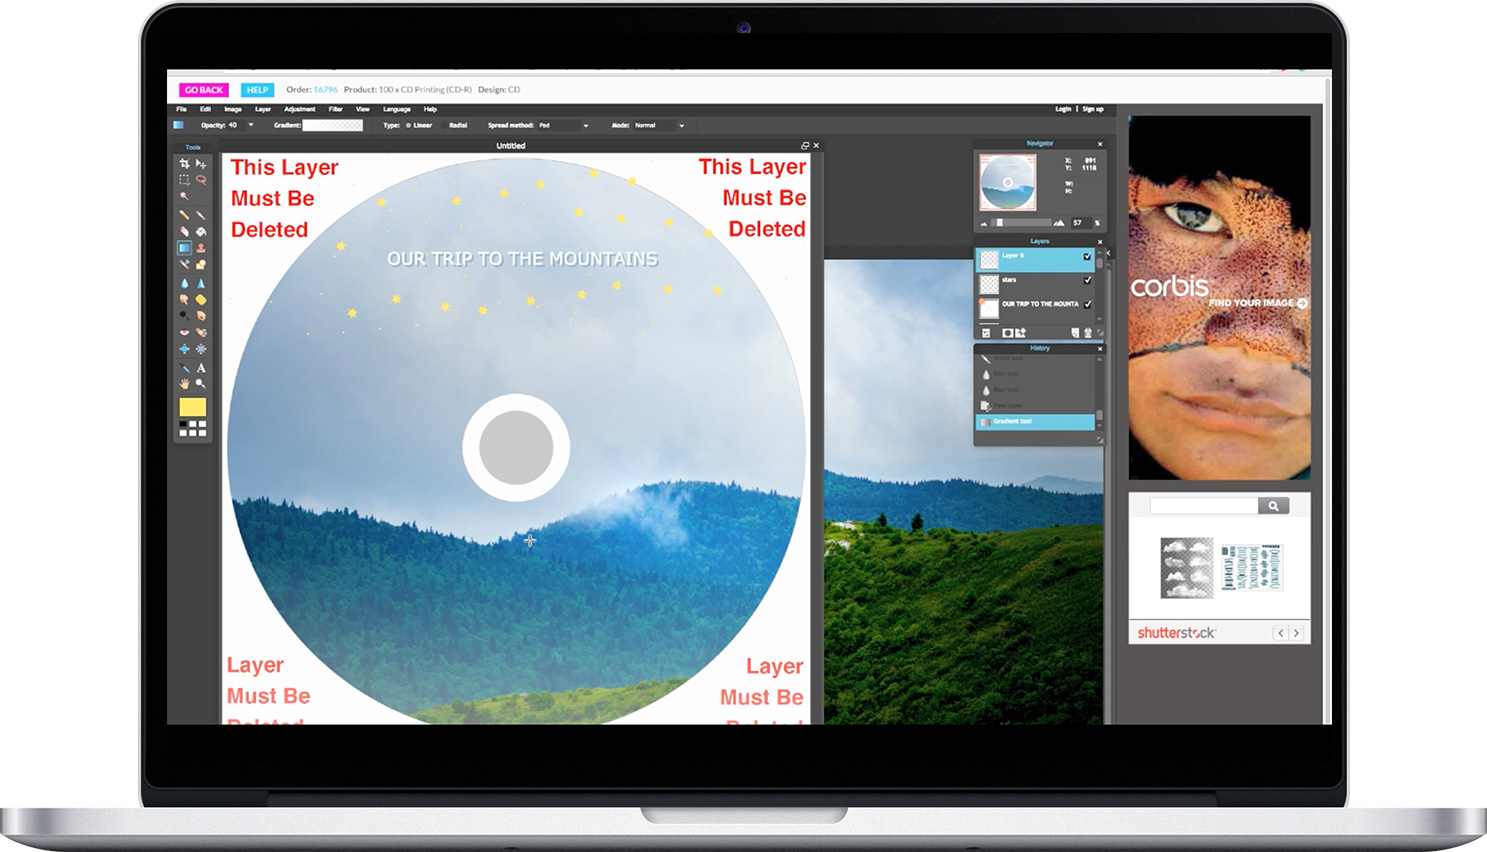
Customize gradients to add subtle effects to your art. In our design, we made a white-to-transparent gradient, set the opacity low so that it would be pale, and finally set it to linear. Then, we clicked and dragged our mouse across the screen to add mist to the mountains.
You can continue trying to place your gradient over and over to get the positioning just right by selecting Edit > Undo (ctrl-z /cmd-z). There are many more tools for you to explore on your own, too - try blurring elements that are not the subject of your image.
7. Save and Print
It's that easy! Have fun designing.
Here are other articles you might find interesting, including the tutorial for USB business cards: